Packaging is usually briefed as a look. It is more reliably briefed as three linked questions: what is going inside, what has to survive the journey, and how the pack will be stored, picked and shipped. Answer them in that order and the visual work has something solid to sit on.
Fix the contents first
Confirm every item that goes in the pack, including the ones added late — a leaflet, a cable, a returns label. Dimensions and weights drive the structure, and a pack designed around an incomplete contents list usually has to be prototyped again once the missing item appears.
Design for the journey, not the shelf photo
A pack that is handled once on a stand is a different problem to a pack that goes through a carrier network. Decide whether the outer needs to be mailable in its own right or whether it travels inside a shipper, and prototype against the way it will actually be handled.
Prototype before you commit to finish
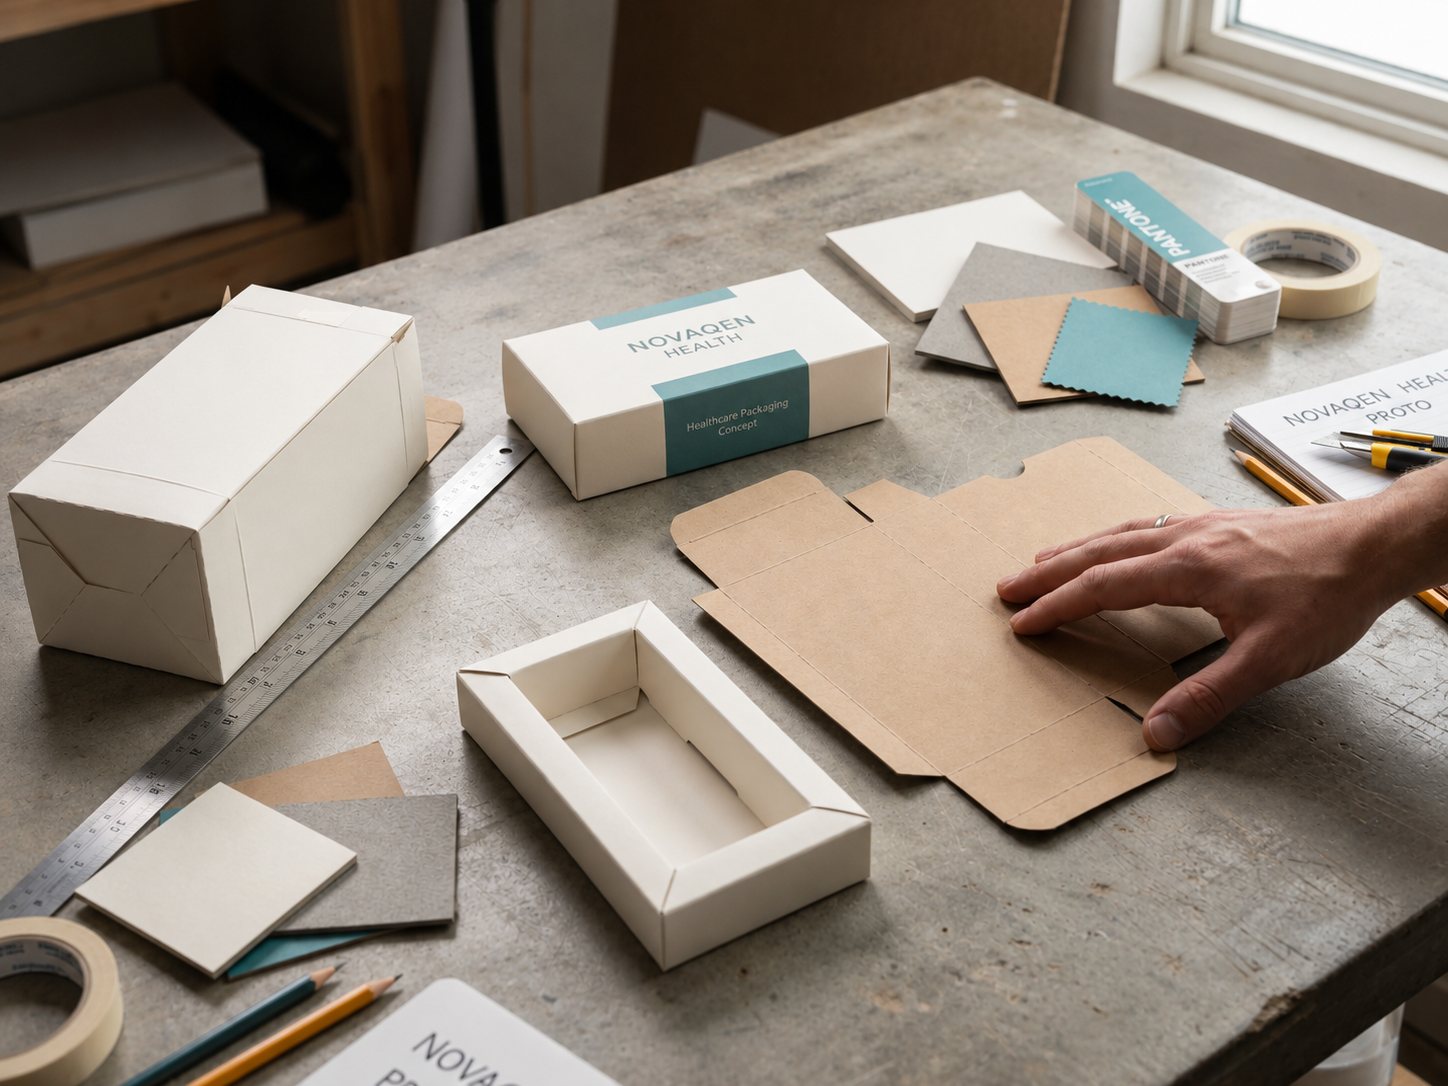
Structural samples answer questions that renders cannot: how the lid feels, whether the insert holds, how much force it takes to open. Foil, emboss and specialist finishes are worth specifying once the structure is settled, because changing the structure afterwards usually invalidates the finish set-up.
Count the assembly time
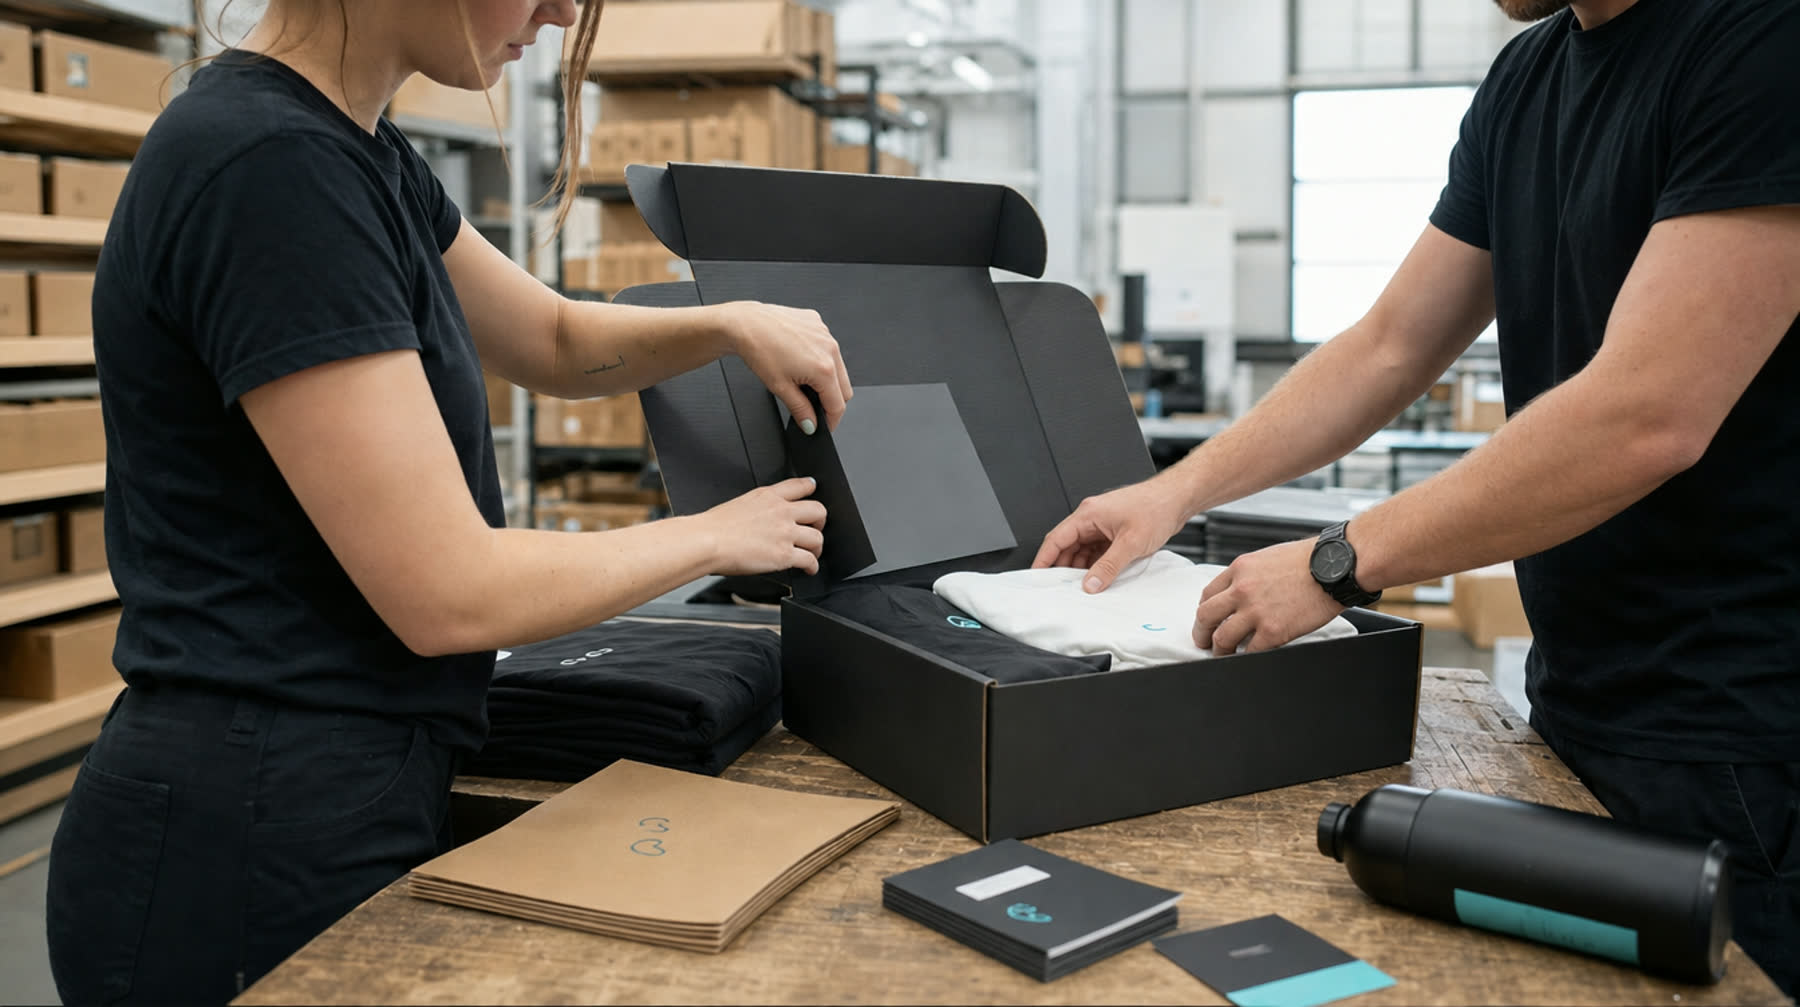
Every fold, insert and tissue layer is labour. If thousands of packs are being kitted, a design that takes thirty seconds longer per unit is a real cost. Reviewing assembly alongside the design keeps that visible while it can still be changed.
Plan the second run while you plan the first
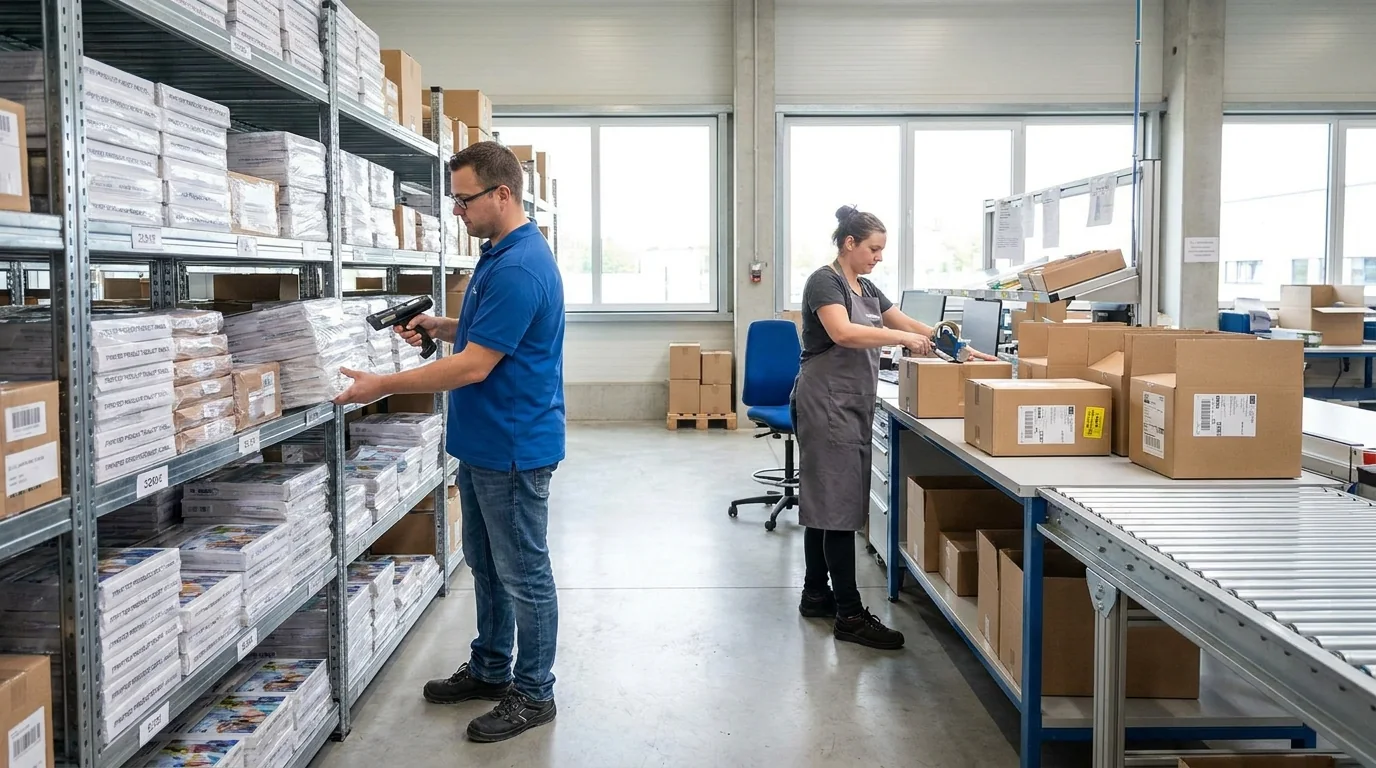
Ask what happens when the pack is reordered or a component changes. Structures that allow a swapped insert or a version change, and packaging held flat in managed storage, make the follow-up run straightforward rather than a fresh project.